How to Grow Tulips (in Seattle, PNW, Zone 8b/9a)
Is there a more quintessential spring flower than the tulip?
With literally thousands of different varieties in almost every color imaginable, tulips provide some of the first bursts of color after the long, dark, winter months. I love walking around my neighborhood and admiring all the unique tulips in everyone's gardens.
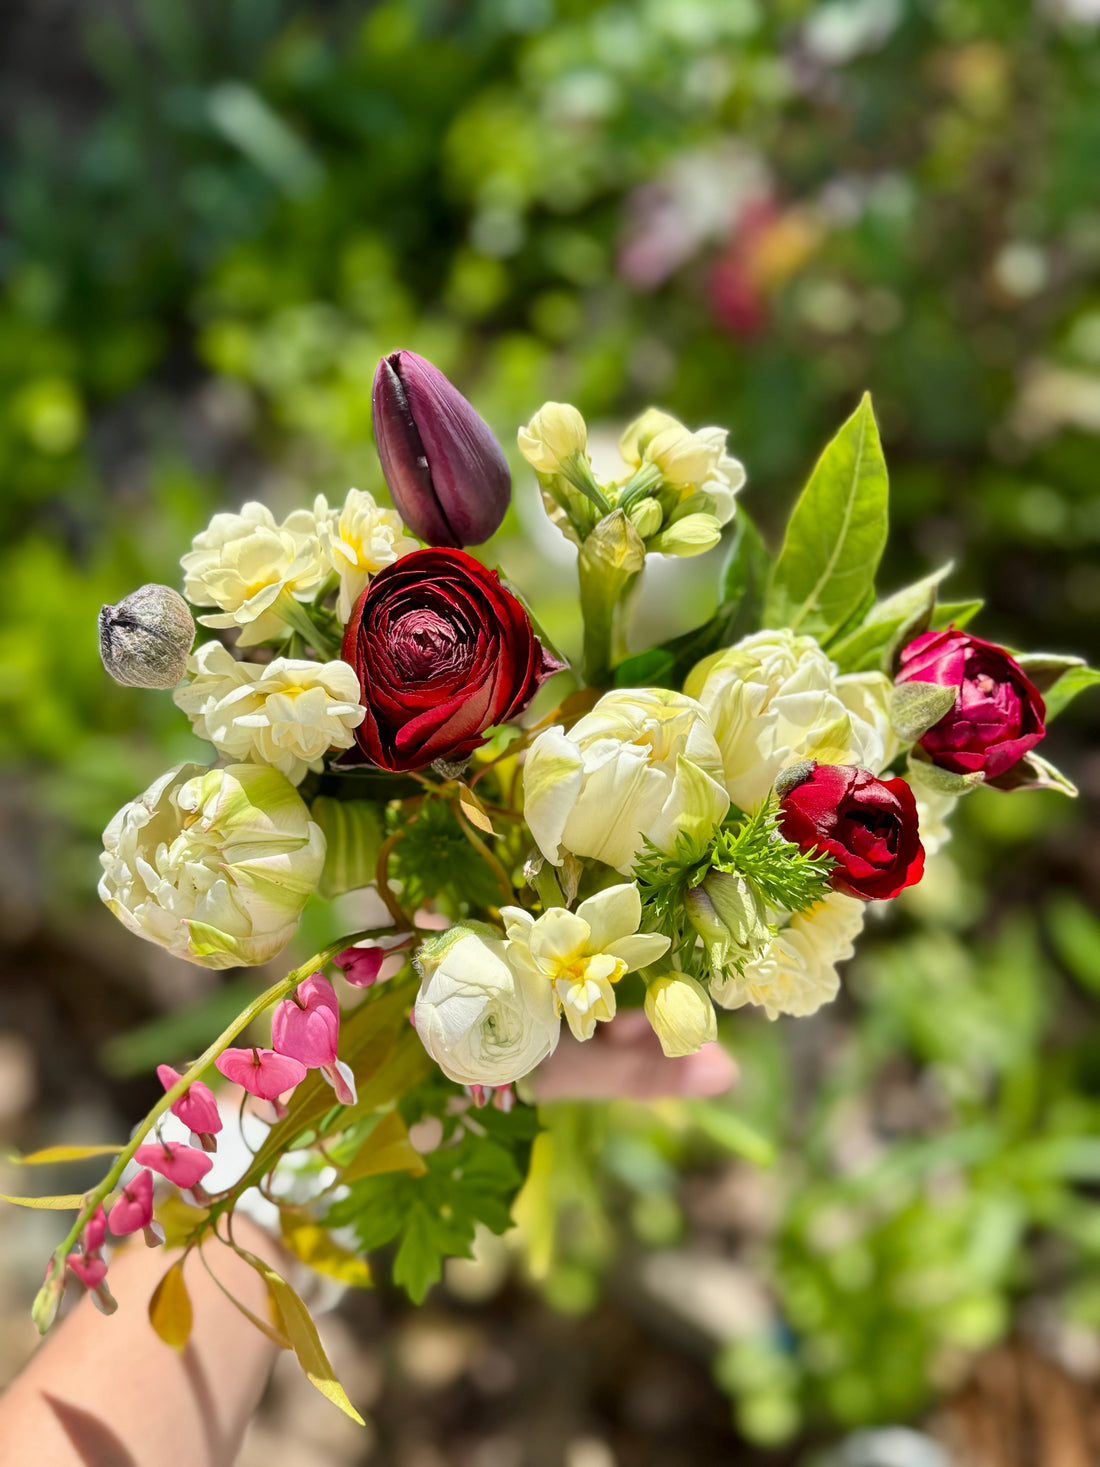
And if you want to enjoy them outside of your garden, tulips make excellent cut flowers. For the best vase life, cut the flowers when the bulb has colored up, but before it has opened. (See below for more tips on harvesting tulips for cut flowers).
Here's my comprehensive guide on how to grow these beautiful flowers.
(This is my perspective and experience as a flower farmer in the PNW, Seattle, WA, zone 8b/9a - while much of the information is applicable no matter your location, some adjustments might be needed for optimal growing in your specific climate.)
How to Grow Tulips from Bulbs
The majority of tulips are grown from bulbs. Bulbs are primarily bred and produced in the Netherlands for shipment into the United States (and around the world) in the fall each year. Some flower farms in Mount Vernon, WA (home to the Skagit Valley Tulip Festival), such as Roozengaarde, are also big producers of tulip bulbs. Flower farmers will often place their wholesale orders in the prior spring to secure the best colors/varieties. Everyday gardeners can place their orders in the fall.
If you are not going to plant immediately upon receiving them, store the bulbs in a cool, dry, well-ventilated place prior to planting.
Where to Buy Tulip Bulbs
Not all bulbs are created equal. Since the energy for the tulip to grow comes from the bulb, the larger the bulbs is, the larger and showier the flower will be. Tulips are measured by the circumference of the bulbs, in centimeters. 12+ cm bulbs are the top size bulbs. These are the ones most professional flower farmers seek to buy (and these are the ones we are selling in our bulb sale). Big box stores, on the other hand, primarily sell smaller-sized bulbs (and they unfortunately are often mislabeled).
What Types of Tulips to Plant
There are 15 different groups of tulips, as defined by the Royal General Bulbgrowers’ Association (KAVB) in the Netherlands.
Certain varieties are bred to put out a spectacular bloom for just one year, while others are bred to naturalize in your garden - meaning they will come back year after year and even multiply.
Emperor and Darwin Hybrid (such as Parade and Akebono) tulips are great for naturalizing. Certain Single Late tulips, such as Queen of the Night, also naturalize well.
The specialty tulips of the Double Late (Peony), Fringed, and Parrot groups, on the other hand, do not naturalize well. I have definitely had some come back for a second year, but it's just a bonus and is not guaranteed.
When to Plant Tulip Bulbs
As a rule of thumb, tulips can be planted any time the ground is not frozen. Since our ground rarely freezes in Seattle, we have quite a long planting window.
Don't plant them too early! It is recommended that you wait until your nighttime temperatures are consistently in the 40s (Fahrenheit) or below. If you plant when the temperatures are too warm, it could confuse the tulip into putting on top growth instead of the root growth that is needed for a robust plant.
January is about the latest you can plant tulips in our region. Tulips need around 12 weeks of cool temperatures (~45°F or below) in order to bloom well. Since our springs are quite cool, you are able to get this with a mid-winter planting. Some flower farmers will even purposefully plant their bulbs in January in order to time blooms for Mother's Day. If you plant after January, the bulbs will still likely flower, but the stems may be shorter.
Planting Tulips in the Garden
Tulips grow best in a spot that receives full sun (6+ hours of sun per day at the time of blooming). The soil should be well-draining, otherwise they are prone to rotting. As long as the soil is well-draining, tulips do well in raised or un-raised garden beds, as well as containers.
Tulips should be planted at a depth of 2-3 times the length of the bulb. This is typically around six inches deep, meaning there will be about 4 inches of soil on top of the bulb.
Tulips can be planted quite close together - like eggs in a carton. Ideally the bulbs will not be touching each other, or any sides if you are planting in a raised bed or container.
If you are planting tulip varieties that naturalize well, you should give them a bit more space (4-6 inches) between the bulbs so they have room to multiply over the years.
Generally, tulip bulbs should be planted with the pointy end up. However, the bulbs will naturally grow towards the light no matter which direction they are planted so don't worry about it too much.
A hack I've seen for planting lots of tulips quickly is to dig your shovel as deep as you can in your planting spot, and sort of lift/prop the dirt up enough so that you can dump a bag of tulips in the hole. Then remove your shovel letting the dirt cover the bulbs.
Planting Tulips in Crates
My preferred method for growing tulips for cut flower production is to grow them in "bulb crates". When you order tulips and daffodils in bulk, they come in these black plastic crates, sort of like a milk crate. They are usually around 2x1 feet, and 8-10 inches deep. They are very sturdy and many flower farmers reuse them for multiple purposes around their farms, including planting in them.
Milk crates are a great alternative, or "produce crates", such as ones used for vegetables. You might be able to check your local grocery stores for extra crates, or try searching on Marketplace or Craigslist. Sometimes flower farmers give away or sell their extra bulb crates as well. (I don't currently have any spares - sorry!)
It's really easy to plant in them because you don't have to dig at all. Follow these easy steps:
- Fill the bottom couple inches with soil. Be sure to use a mix that is well-draining. Once I used straight compost and it retained too much water and caused many of my tulip bulbs to rot.
- Fill your crate with bulbs, like eggs in a carton, ensuring they are not touching each other or the sides of the crate. Each crate can fit around 60-100 bulbs.
- Top the bulbs with soil.
- Cover the crates with chicken wire if your rodent pressure is high. Monitor them periodically to make sure they not getting eaten.
- Place the crates in a location that receives at least 6 hours of sunlight.
How to Care for Your Planted Tulips
Tulips are generally a pretty easy flower to grow. They are mostly a set it and forget it kind of plant, though they are susceptible to some pests and can have some fungal diseases.
Read on for some common solutions to situations/problems you might run into when growing tulips.
Protecting Tulips from Pests
Tulips are susceptible to all sorts of pests including rats, rabbits, squirrels and deer and snails, slugs, and earwigs.
Rats and squirrels love to devour tulip bulbs, and rabbits, rats, and deer (usually not an issue in Seattle!) will eat the growing foliage and flowers themselves. To protect the bulbs and foliage once planted, you can try a repellent such as a peppermint spray, a smelly product such as liquid fence, or a sprinkling of cayenne pepper. Alternatively many people succeed with a barrier method such as covering the planting area with chicken wire/hardware cloth.
Snails and slugs love to eat the tender new shoots from your corms, while earwigs can nibble on your beautiful blooms. To combat these three pests, I recommend liberally applying a product called Sluggo Plus every couple of weeks during the growing season. The active ingredient in this product is Spinosad which is an incredible substance that is detrimental to the critters we hate, yet totally organic and non-toxic to humans, kids, pets, and most beneficial insects (when it's in a spray form, it can be harmful to bees, but in this case the product is pellets so the bees remain unharmed). You can usually purchase this product at your local Costco starting in January into the spring - stock up! (Not sponsored, I just love a good deal. Our Costco price is $28.99 for the 5lb bottle which is a huge discount from elsewhere).
Monitoring Tulips for Tulip Fire (Fungal Disease)
"Tulip Fire" is a devastating fungal disease from the fungus Botrytis tulipae. Symptoms are pretty distinctive: distorted, withered, and twisted leaves with brown spots on them. In severe cases it can look as if the leaves have been scorched by fire (hence the name).
Tulip Fire is incurable and can quickly spread in the garden, especially in wet conditions. The best thing to do to combat it is to be diligent about monitoring for any signs of it and immediately removing and trashing any infected plants. If you do encounter it, it's recommended that you don't plant tulips in the same location for 3 years because the fungus can live for that long in the soil.
Watering Your Tulips
If you are in an area like Seattle that gets sufficient rainfall during the fall, winter, and spring, you might not have to water them particularly often. I hardly do unless there is a stretch of several warm days without rain. If your tulips end up blooming on very short stems, it's possible that they needed more water throughout the growing season.
Fertilizing Your Tulips
Tulip bulbs contain all the necessary energy to bloom for one year without any added fertilizers. If you are looking to have them bloom in future years, I recommend topping your beds off with several inches of high-quality compost every year. (Some local places to buy in bulk: Dirt Exchange, Pacific Topsoils, Cedar Grove, Burien Bark, ZooDoo from the Woodland Park Zoo). If you do this, your plants can thrive with minimal added fertilizers.
Deadheading/Cleaning Up Your Tulips
If you are aiming to naturalize tulips in your garden, be sure to deadhead them after they are done flowering. Cutting off the spent bloom directs the plant's energy into the bulbs rather than it wasting energy trying to produce seeds. Cut right below the bloom head, leaving as much stem as you can. Then leave the stems and leaves alone so they can gather energy for next year's blooms. Once they've turned brown, they can be cleaned from your garden (or left to decompose naturally).
Harvesting the Blooms for Cut Flowers

For the best vase life, harvest the flowers when the bulb is showing color, but before it has opened. Tulips will continue to color up and open after they have been cut. (Tulip stems also get longer after they've been cut!) For longer stems, rather than cutting where the stem meets the dirt, instead grasp that area and gently tug to separate the stem from the bulb. This gives you an additional several inches of stem length that was below the soil (remember that we put 4 inches of soil on top of the bulb).
Unopened tulips can be stored dry in the fridge for 1-2 weeks. Lay them horizontally wrapped in paper or packed flat in boxes. Ensure they are completely dry before storing them this way. Keep them away from ripening fruits as they can be sensitive to the ethylene gases they emit. Note that they will often look terrible and droop upon removal from the fridge. Cut the stems and place them in water and they will perk up in no time.
Flower farmers will often pull up the entire tulip plant, with the bulb attached, when harvesting tulips. Tulips can be stored with the bulb on for several weeks, or even months, in a cooler/fridge at 34-36°F. When you are ready to use them, simply remove from the fridge, cut off the bulb, and place in water.
If you are looking for tulips to naturalize in your garden, best practice is to leave as much of the plant as you can because the leaves and stem gather energy from the sun into the bulb to produce flowers for the following year. Many people do not cut their perennial tulips at all. If you do want to try cutting them, at a minimum, you should leave at least two leaves behind on the stem.
Let me know if you have any other questions and happy growing!
